PAID MEDIA5 Min Bibe Agencyon9 de febrero de 2026Caso de éxito Google Ads: cómo una escuela de buceo convirtió Google Ads en un canal de negocio real Google Ads es uno de los canales más potentes para generar negocio.Y, al mismo tiempo, uno de los más fáciles de malgastar. La diferencia… Leer más
SEO4 Min Bibe Agencyon6 de noviembre de 2025SEO en WordPress: Guía completa para optimizar tu sitio web El SEO en WordPress es uno de los pilares fundamentales para mejorar la visibilidad online y atraer tráfico orgánico de calidad. Gracias a su… Leer más
MARKETING4 Min Bibe Agencyon6 de noviembre de 2025CTR: qué es, cómo se calcula y claves prácticas para mejorarlo El CTR es una de las métricas clave para medir la efectividad de tus acciones de marketing digital. Este porcentaje refleja cuántas personas… Leer más
MARKETINGSEO5 Min Bibe Agencyon29 de octubre de 2025Linkbuilding: qué es y mejores estrategias para conseguir enlaces En el vasto ecosistema del posicionamiento en buscadores, el linkbuilding ocupa un lugar central dentro del llamado SEO off page. Aunque los… Leer más
MARKETINGSEO4 Min Bibe Agencyon24 de octubre de 2025SEO Local: Qué Es, Cómo Funciona y Por Qué Es Clave para Tu Negocio En un mundo digital donde los usuarios esperan encontrar soluciones rápidas y cercanas, el SEO local se ha convertido en un pilar fundamental… Leer más
MARKETINGSEO4 Min Bibe Agencyon10 de septiembre de 2025Google My Business: Cómo crear y configurar tu cuenta ¿Qué es Google My Business? Google My Business (ahora llamado Perfil de Empresa en Google) es una herramienta gratuita que permite a empresas,… Leer más
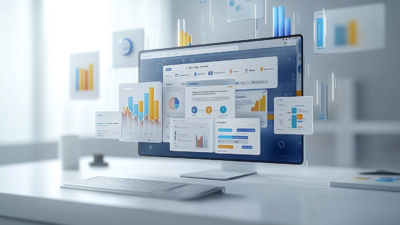
MARKETING6 Min Bibe Agencyon17 de mayo de 2025KPIs: Qué son, tipos, cómo definirlos y por qué son esenciales para tu estrategia de negocio ¿Qué es un KPI? Un KPI (Key Performance Indicator o Indicador Clave de Rendimiento) es una herramienta fundamental en cualquier estrategia… Leer más
DISEÑO WEB4 Min Bibe Agencyon14 de mayo de 2025Cómo Crear una Landing Page en Una Hora Aunque no la conozcas por su nombre, seguro que alguna vez has visitado una landing page. También conocidas como páginas de destino o de… Leer más
SEO3 Min Bibe Agencyon1 de abril de 2025Cookies en Internet: Qué Son, Para Qué Sirven y Cómo Cumplir con la Ley ¿Tienes una web o e-commerce en Europa? Entonces este artículo te interesa, y mucho. Si no cumples la Ley de Cookies, podrías estar a un paso… Leer más
SEO4 Min Bibe Agencyon31 de marzo de 202550 Mejores Herramientas SEO en 2025 para Dominar Google Porque hacer SEO sin herramientas es como cocinar sin cuchillos… Si estás aquí, es porque sabes que el SEO en 2025 no se trata solo de… Leer más